How to contribute to the Wiki
This Wiki is designed to be updated frequently; we want everyone to share any and all useful information related to LightForm and the research we do. This is a short guide for how to contribute. Don’t worry about breaking the Wiki, we can always revert it to a previous state (because it uses GitHub)!
Before you start, please make sure you have a GitHub account, and that you are a member of the LightForm “wiki-creators” team. or will be happy to help with this.
Content in this wiki is organised into collections (which you can see in the navigation side-bar on the left). They are currently:
- Handbook
- Experiments
- Software and simulation
- Miscellaneous
How to add a new page
In each collection home page, you can add a new page by clicking the “Add Page” (or “Add Experiment”) button, which looks something like this:

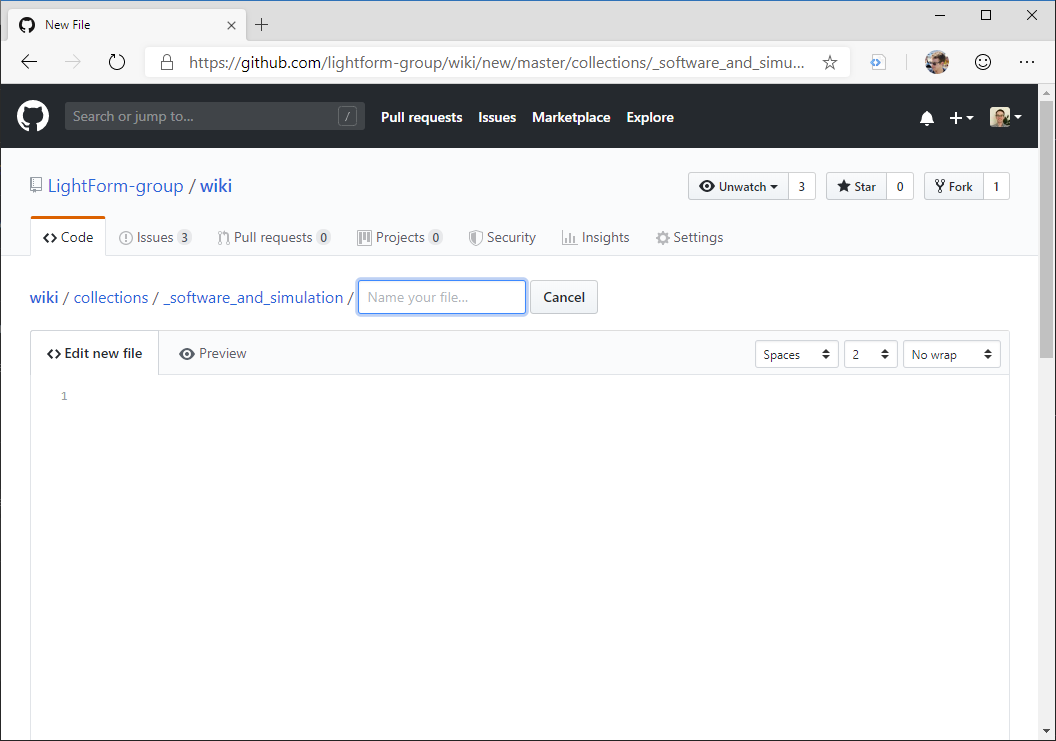
After you click this button, you will be taken to GitHub, where you can add your new page. It looks something like this (in this case, I clicked on the “Add Page” button in the “Software & Simulation” collection):

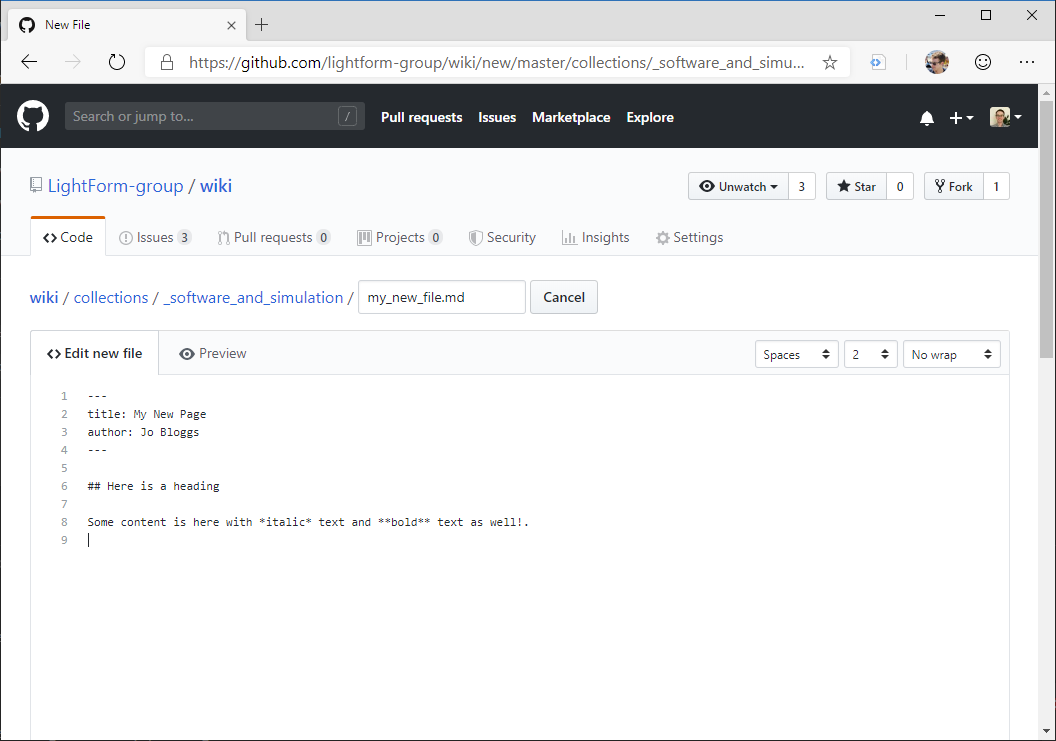
The first thing to do is give the new page a file name. Try to keep the file name short and try to use underscores (_) instead of spaces. Also, please make sure the file name ends with .md, which stands for “Markdown”. Markdown is a simple way to write and structure text documents. See here for an introduction to Markdown. Once you have given the page a file name ending in .md, you then need to add some basic information to the top of the file. Click anywhere in the Edit new file text area and add the following text:
---
title: My New Page
author: Jo Bloggs
---
Make sure you include the two --- lines, and change the title and author as appropriate! You can copy the above text to your clipboard by clicking the Copy button. This block of text is called “front matter” and is used by the Wiki to correctly display the page.
Next, you can add the content of your new page in Markdown. For example, we might add the following, which includes a heading (denoted by ##), some italic text (enclosed by *) and some bold text (enclosed by **):
## Here is a heading

Some content is here with *italic* text and **bold** text as well!
After this, the GitHub page will look something like this:

You’re now ready to publish the new page. Scroll down to the bottom of the page and click on the “Commit new file” button, which looks something like this:

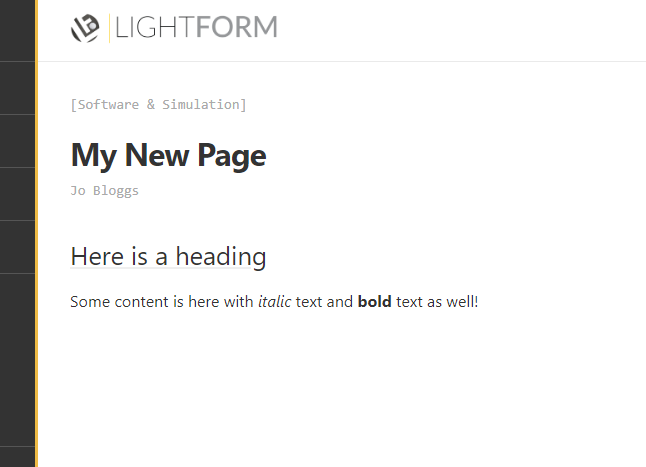
After you “commit” the new page, you’ll have to wait a couple of minutes before your new file appears as a link on the collection home page. Your new page should then look something like this:

How to add images to pages
To add images to a page, you first need to upload the images to the correct folder on GitHub. Once that is done you can then add them to a page. To upload images to the correct folder, click on the “Add images” button in the top right corner of the Wiki. It looks something like this:

This will take you to a page on GitHub where you can upload images. In particular, once you “commit” the new images, they will be placed in the folder: wiki/assets/images/posts.
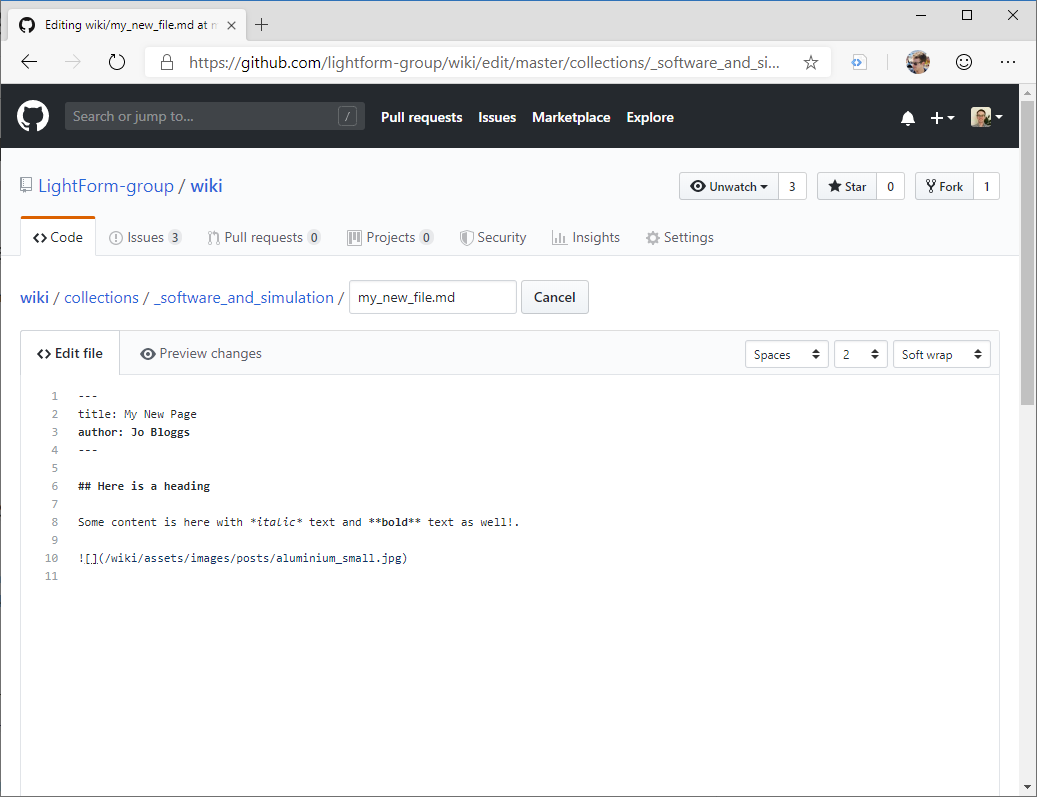
Imagine we uploaded a photo of some aluminium, with the file name aluminium_small.jpg. You would then be able to add this image to your Markdown file by adding the following code to the page (by editing it on GitHub):

In the GitHub editor, this would look something like this:

After you “commit” the changes, you’ll again need to wait a couple of minutes before they show up. Once they do, the page with the image will look something like this:

How to add a static version of a Jupyter notebook
- Firstly export the Jupyter notebook in the Markdown format. Make sure you run the notebook first to ensure any figures are displayed. If your notebook does include figures, exporting will produce a ZIP file that contains image files in addition to a Markdown representation of the notebook.
- If necessary, unzip the ZIP file.
- Generate a new folder within the Wiki repository under the path
_includes/jupter_notebooks. Use the same name as the Markdown file (but without the .md extension). From now own, let’s refer to this name asNOTEBOOK_NAME. Also create the same new folder under the pathassets/images/jupyter_notebooks(this is where the figure files will reside). -
Open the markdown file and replace all image paths like:
with the following (whereNOTEBOOK_NAMEis as previously defined):. - Copy the Markdown file and the original
.ipynbfile into the newly created_includes/jupyter_notebooks/NOTEBOOK_NAMEdirectory. - Copy any images from the exported notebook into the newly created
assets/images/jupyter_notebooks/NOTEBOOK_NAMEdirectory. -
Now add a new page to the collection within which you want the notebook file to appear. For instance, we could add the notebook file to the “Software & Simulation” collection by creating within the
_software_and_simulationscollection a new file with the following contents:--- title: My Jupyter Notebook author: Adam Plowman tags: - python - numpy toc: true published: true layout: jupyter_notebook --- {% include jupyter_notebooks/NOTEBOOK_NAME/NOTEBOOK_NAME.md %}
Note that we must use layout: jupyter_notebook in the YAML front matter, and the contents of the file is just an {% include ... %} statement.
Once the changes have been deployed on GitHub, you should now find a link to the notebook on the chosen collection home page. Note that a Binder link should also be included, which allows anyone to launch an interactive version of the notebook. If your notebook requires some additional Python packages to run properly, you can add them to the file binder/requirements.txt. (Note that this requirements.txt file is shared for all notebooks on the Wiki, so please try to avoid specifying package versions.)
Help
Please contact if you have any problems with contributing to the Wiki.
