Hydrawedge plane strain compression tests
Tutorial for Hydrawedge plane strain compression tests
Setting up the Gleeble Hydrawedge
Turning on the Gleeble Hydrawedge
1) Firstly, go to the control of the chiller/cooler. It should read “Stby”. Press and hold down the snowflake button until it displays the temperatures.
2) Pull down the lever on the mains switch for the Gleeble to turn it on.
3) Go over to the mains switch for the Hydraulic system and pull the lever down to also turn it on. Then take off the padlock from the on/off switch for the hydraulics.
4) Head-over to the gleeble power unit and hold down the white coloured power switch until it turns on.
5) Wait for all the configurations to load, check the thermocouple readout is set to ‘K’ and press accept.
6) Hit the blue reset button.
7) Press ‘OpnDr’ and lift the door of the unit. Then close it and check the top right corner turns from a green unlocked padlock to a red locked padlock.
8) Switch on the PC and make sure it is connected to the Gleeble.
Setting up the Gleeble Hydrawedge for experiments
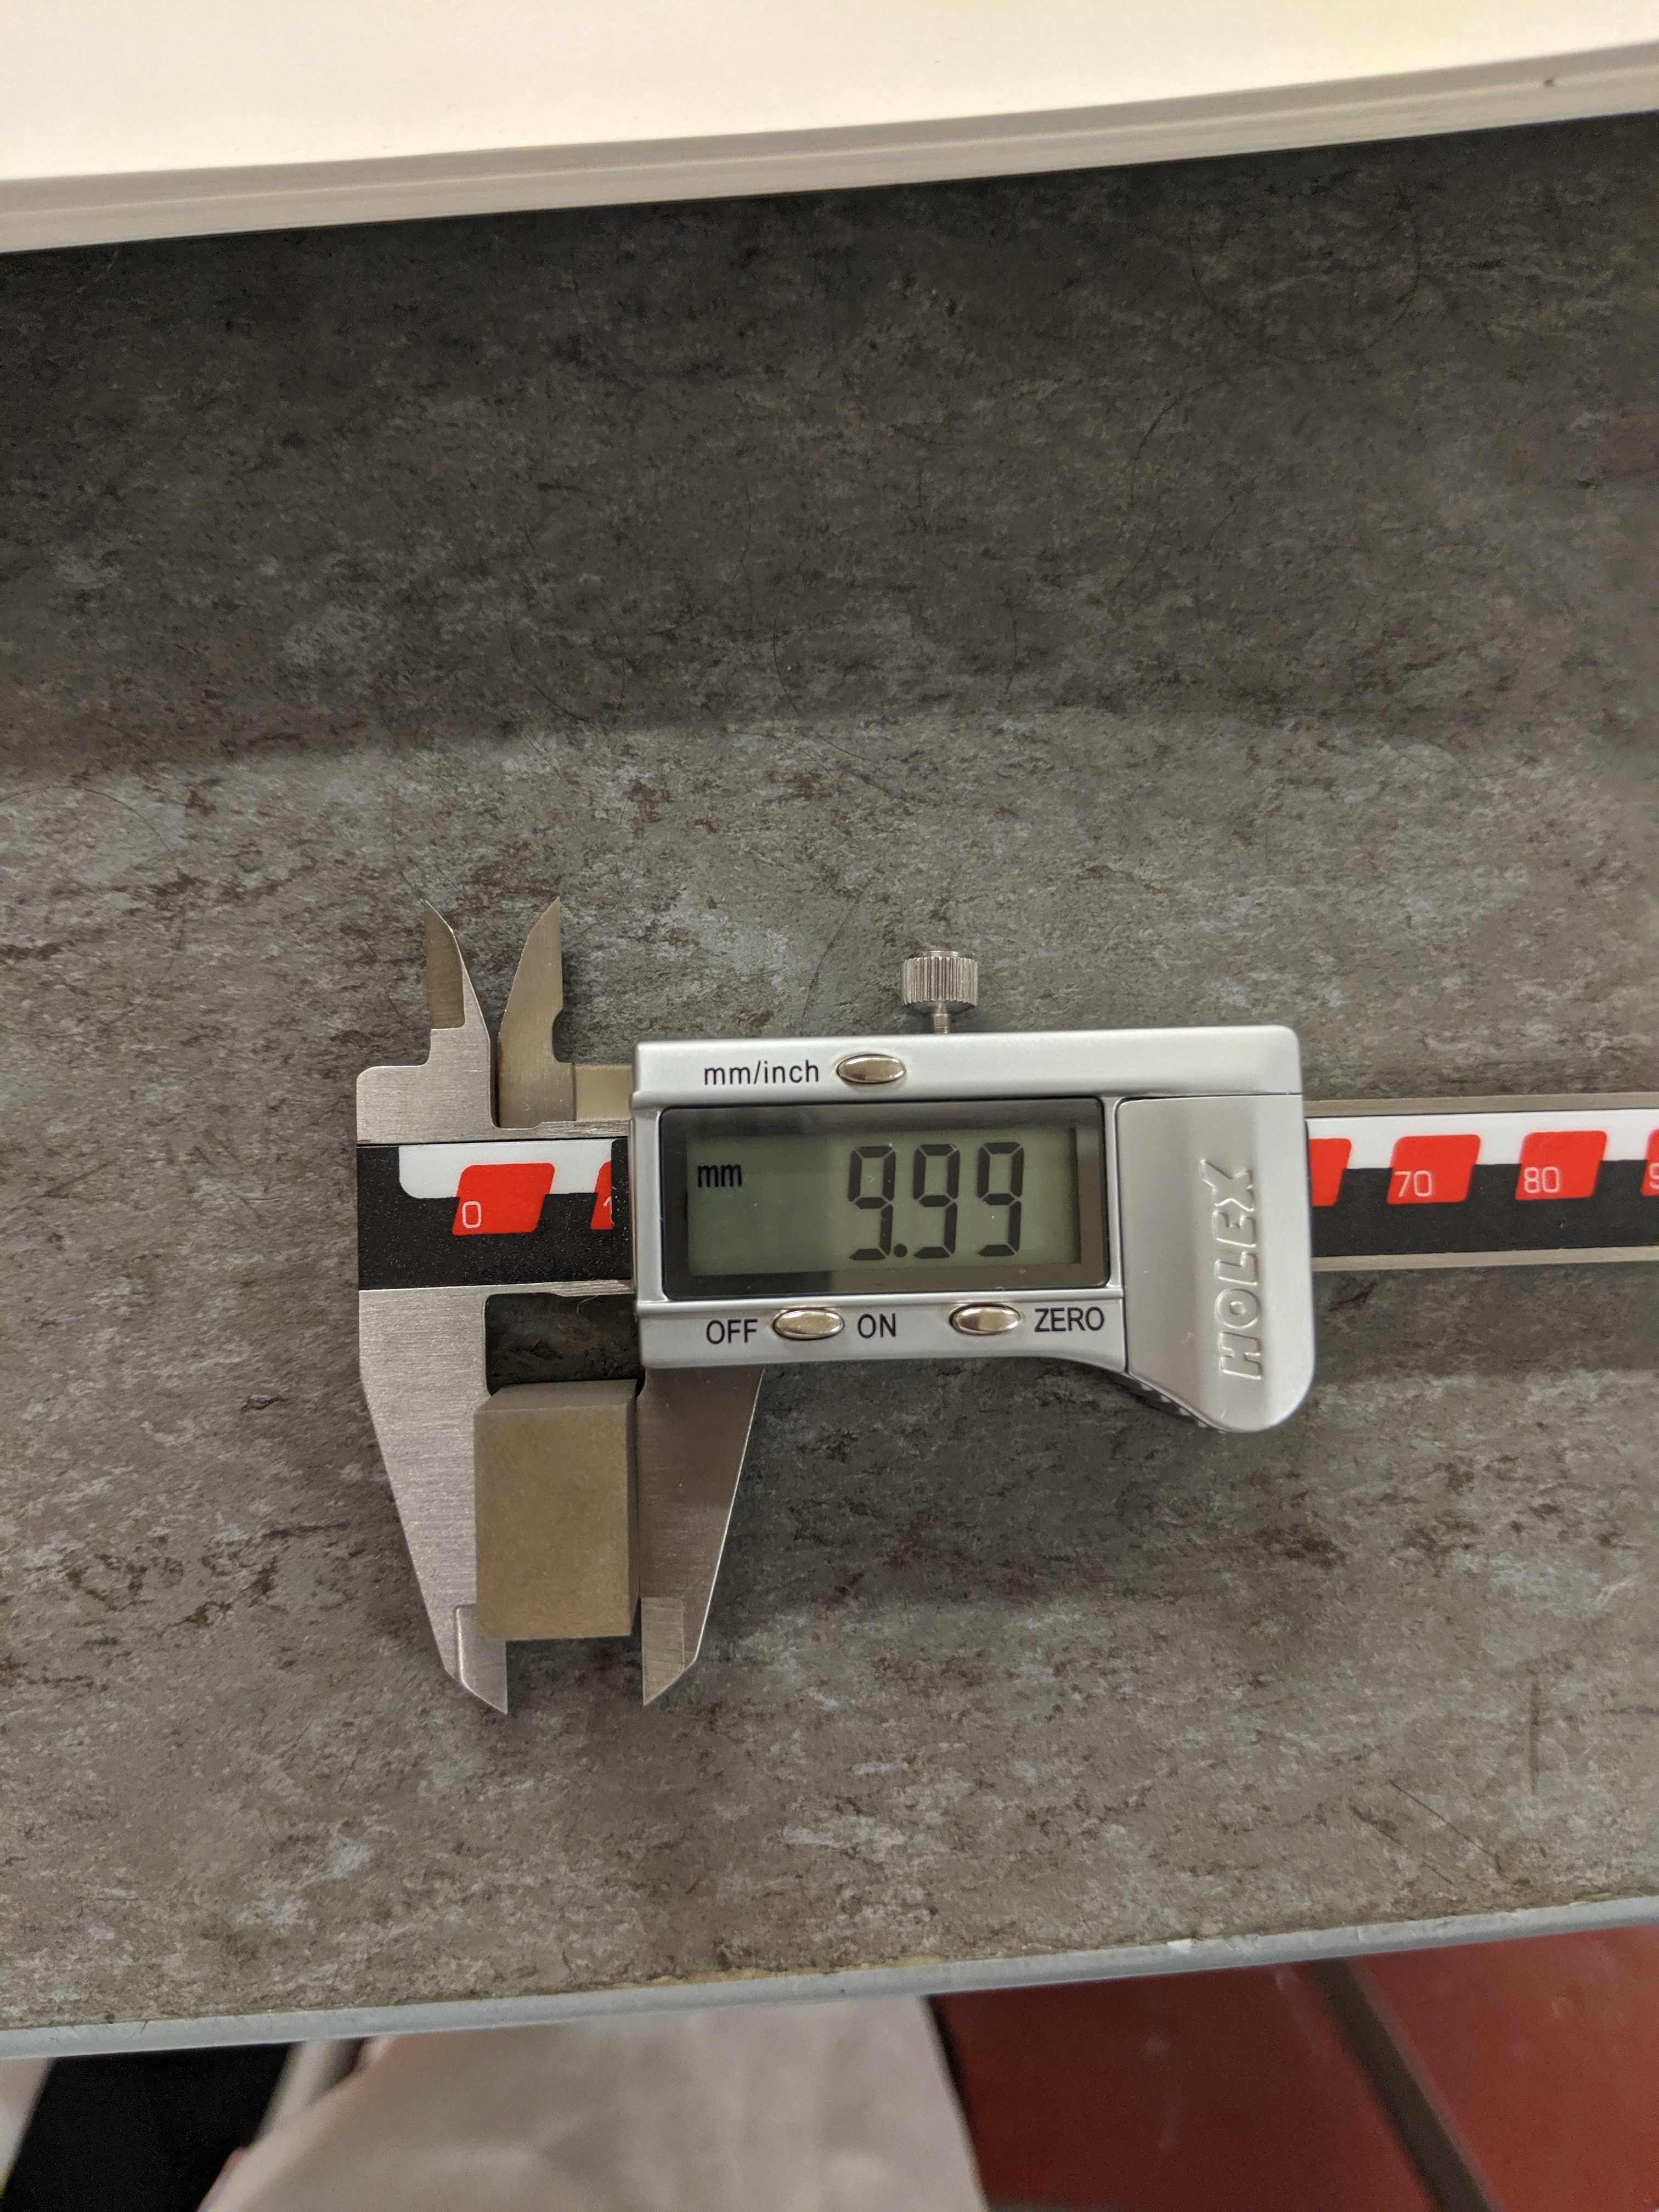
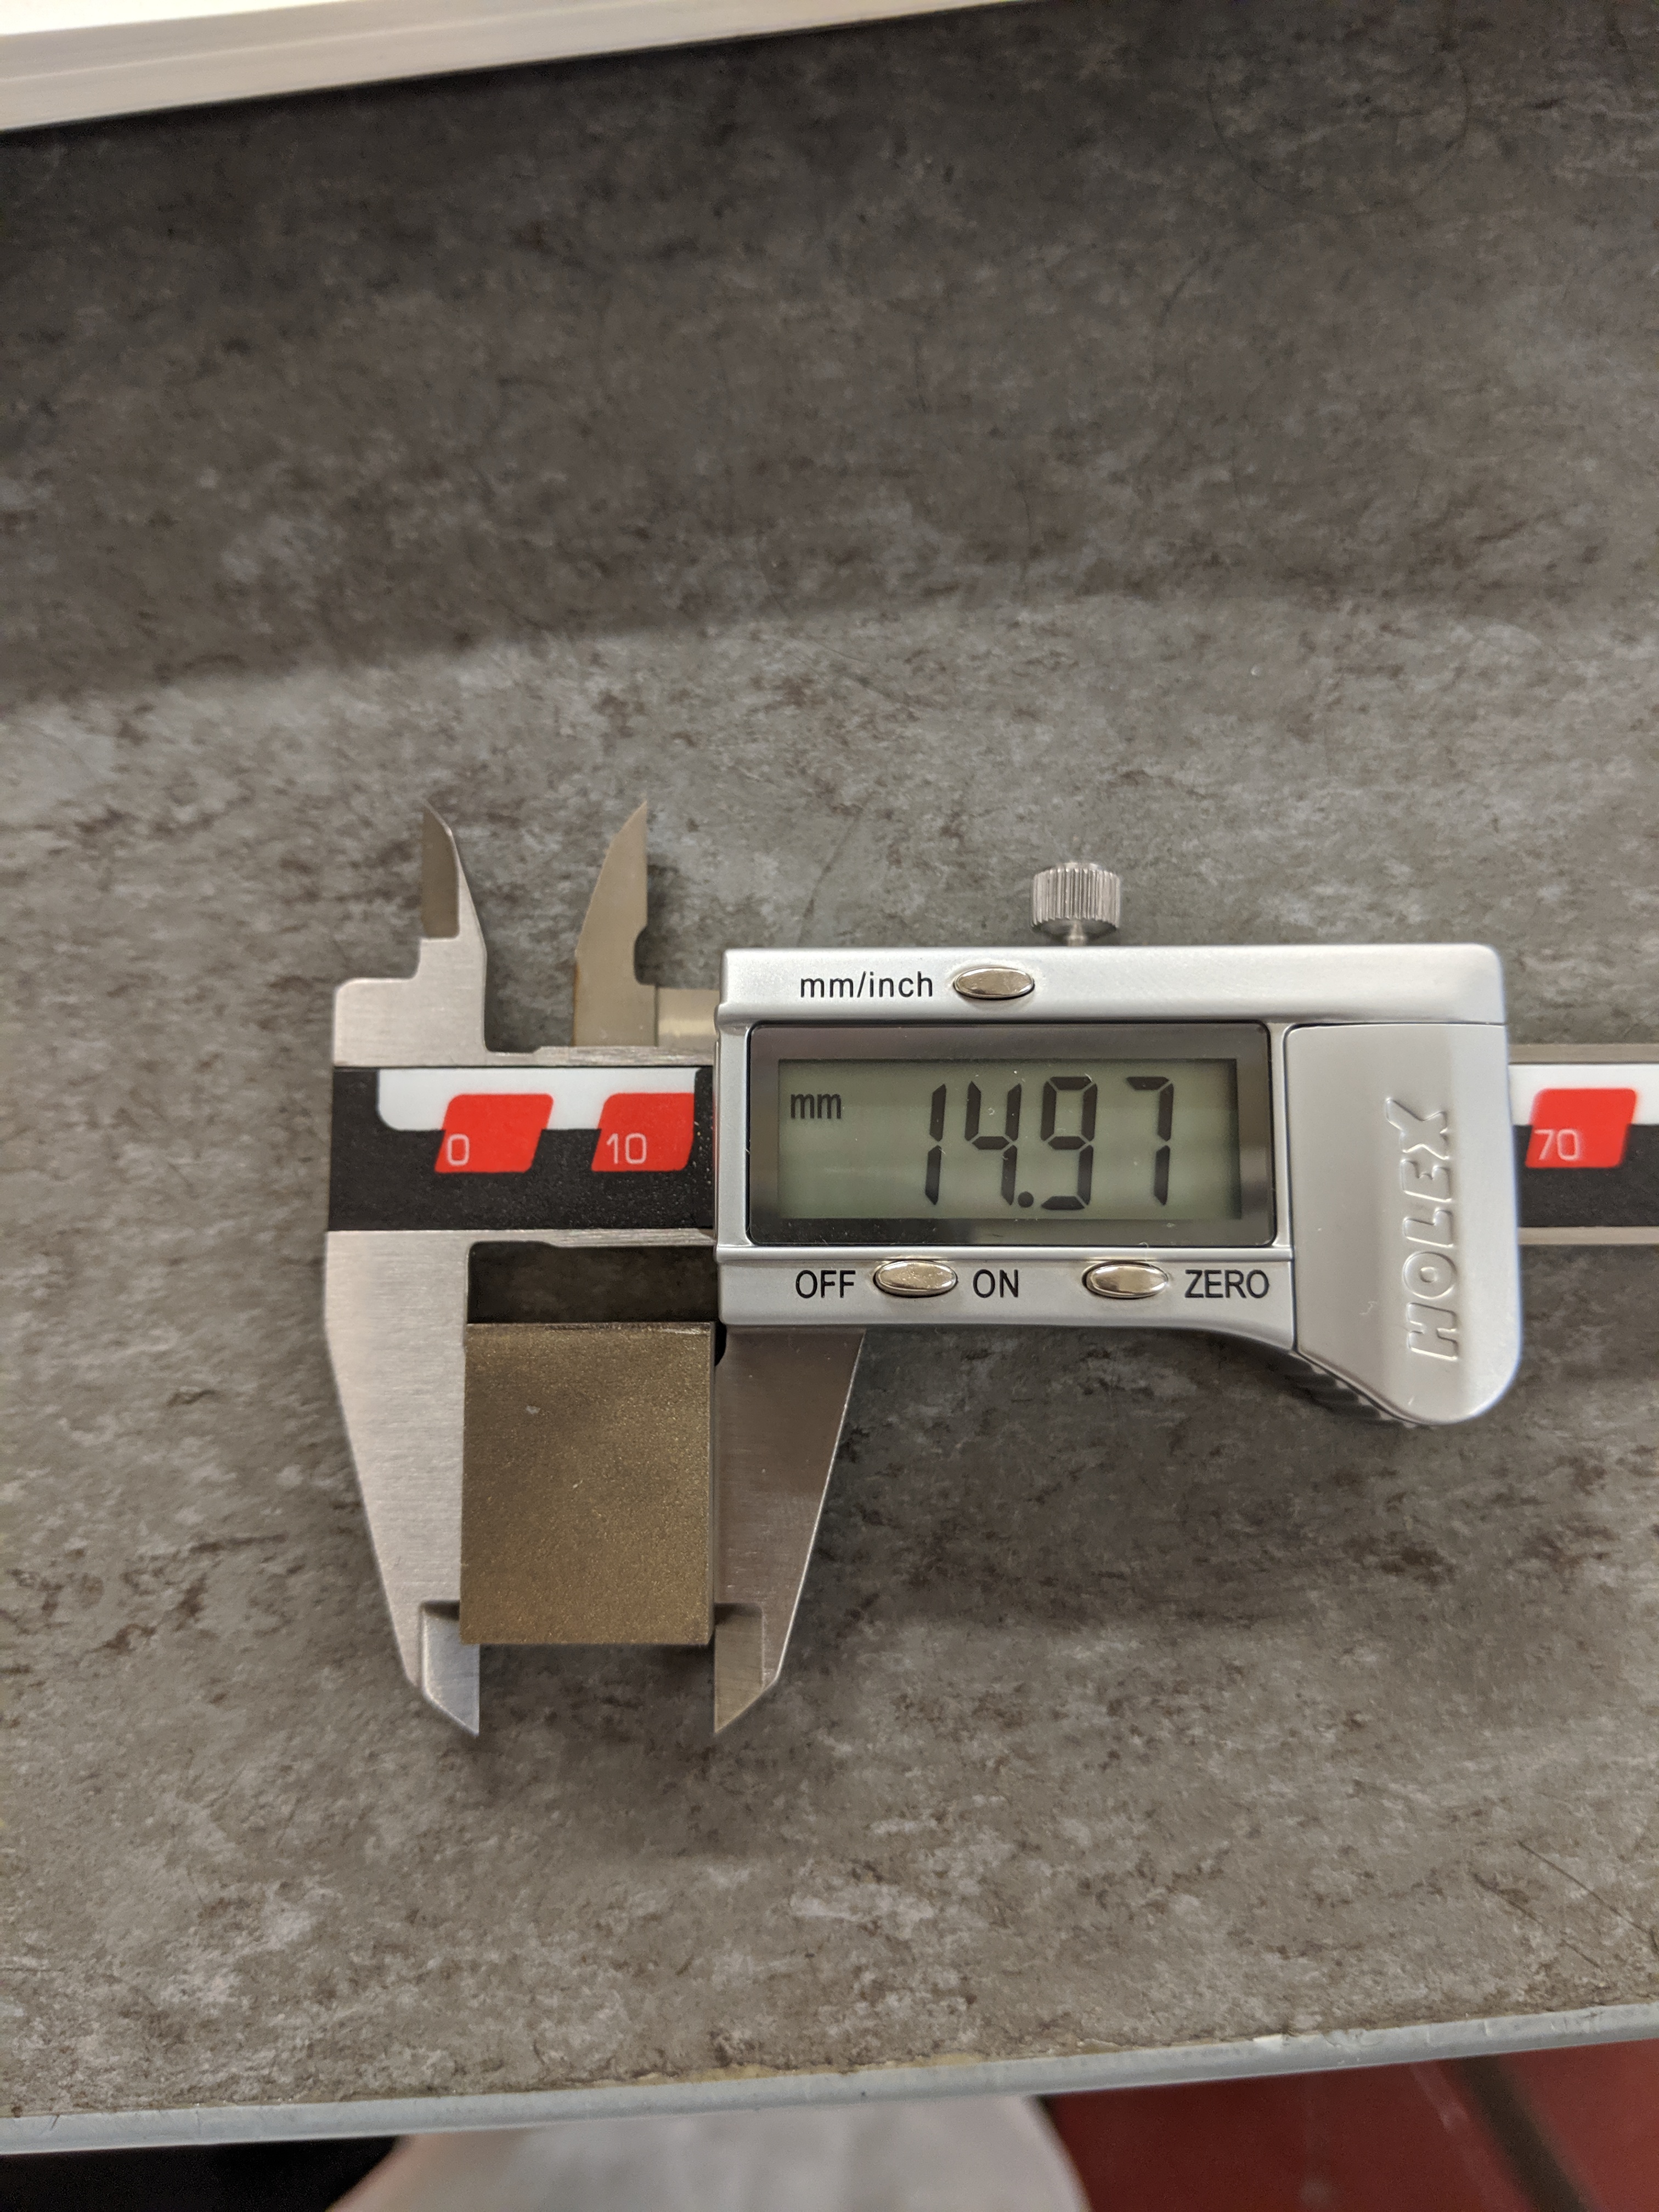
1) Take measurements of sample


2) Welding thermocouples to the sample using spot welder, try getting as close to centre as possible.
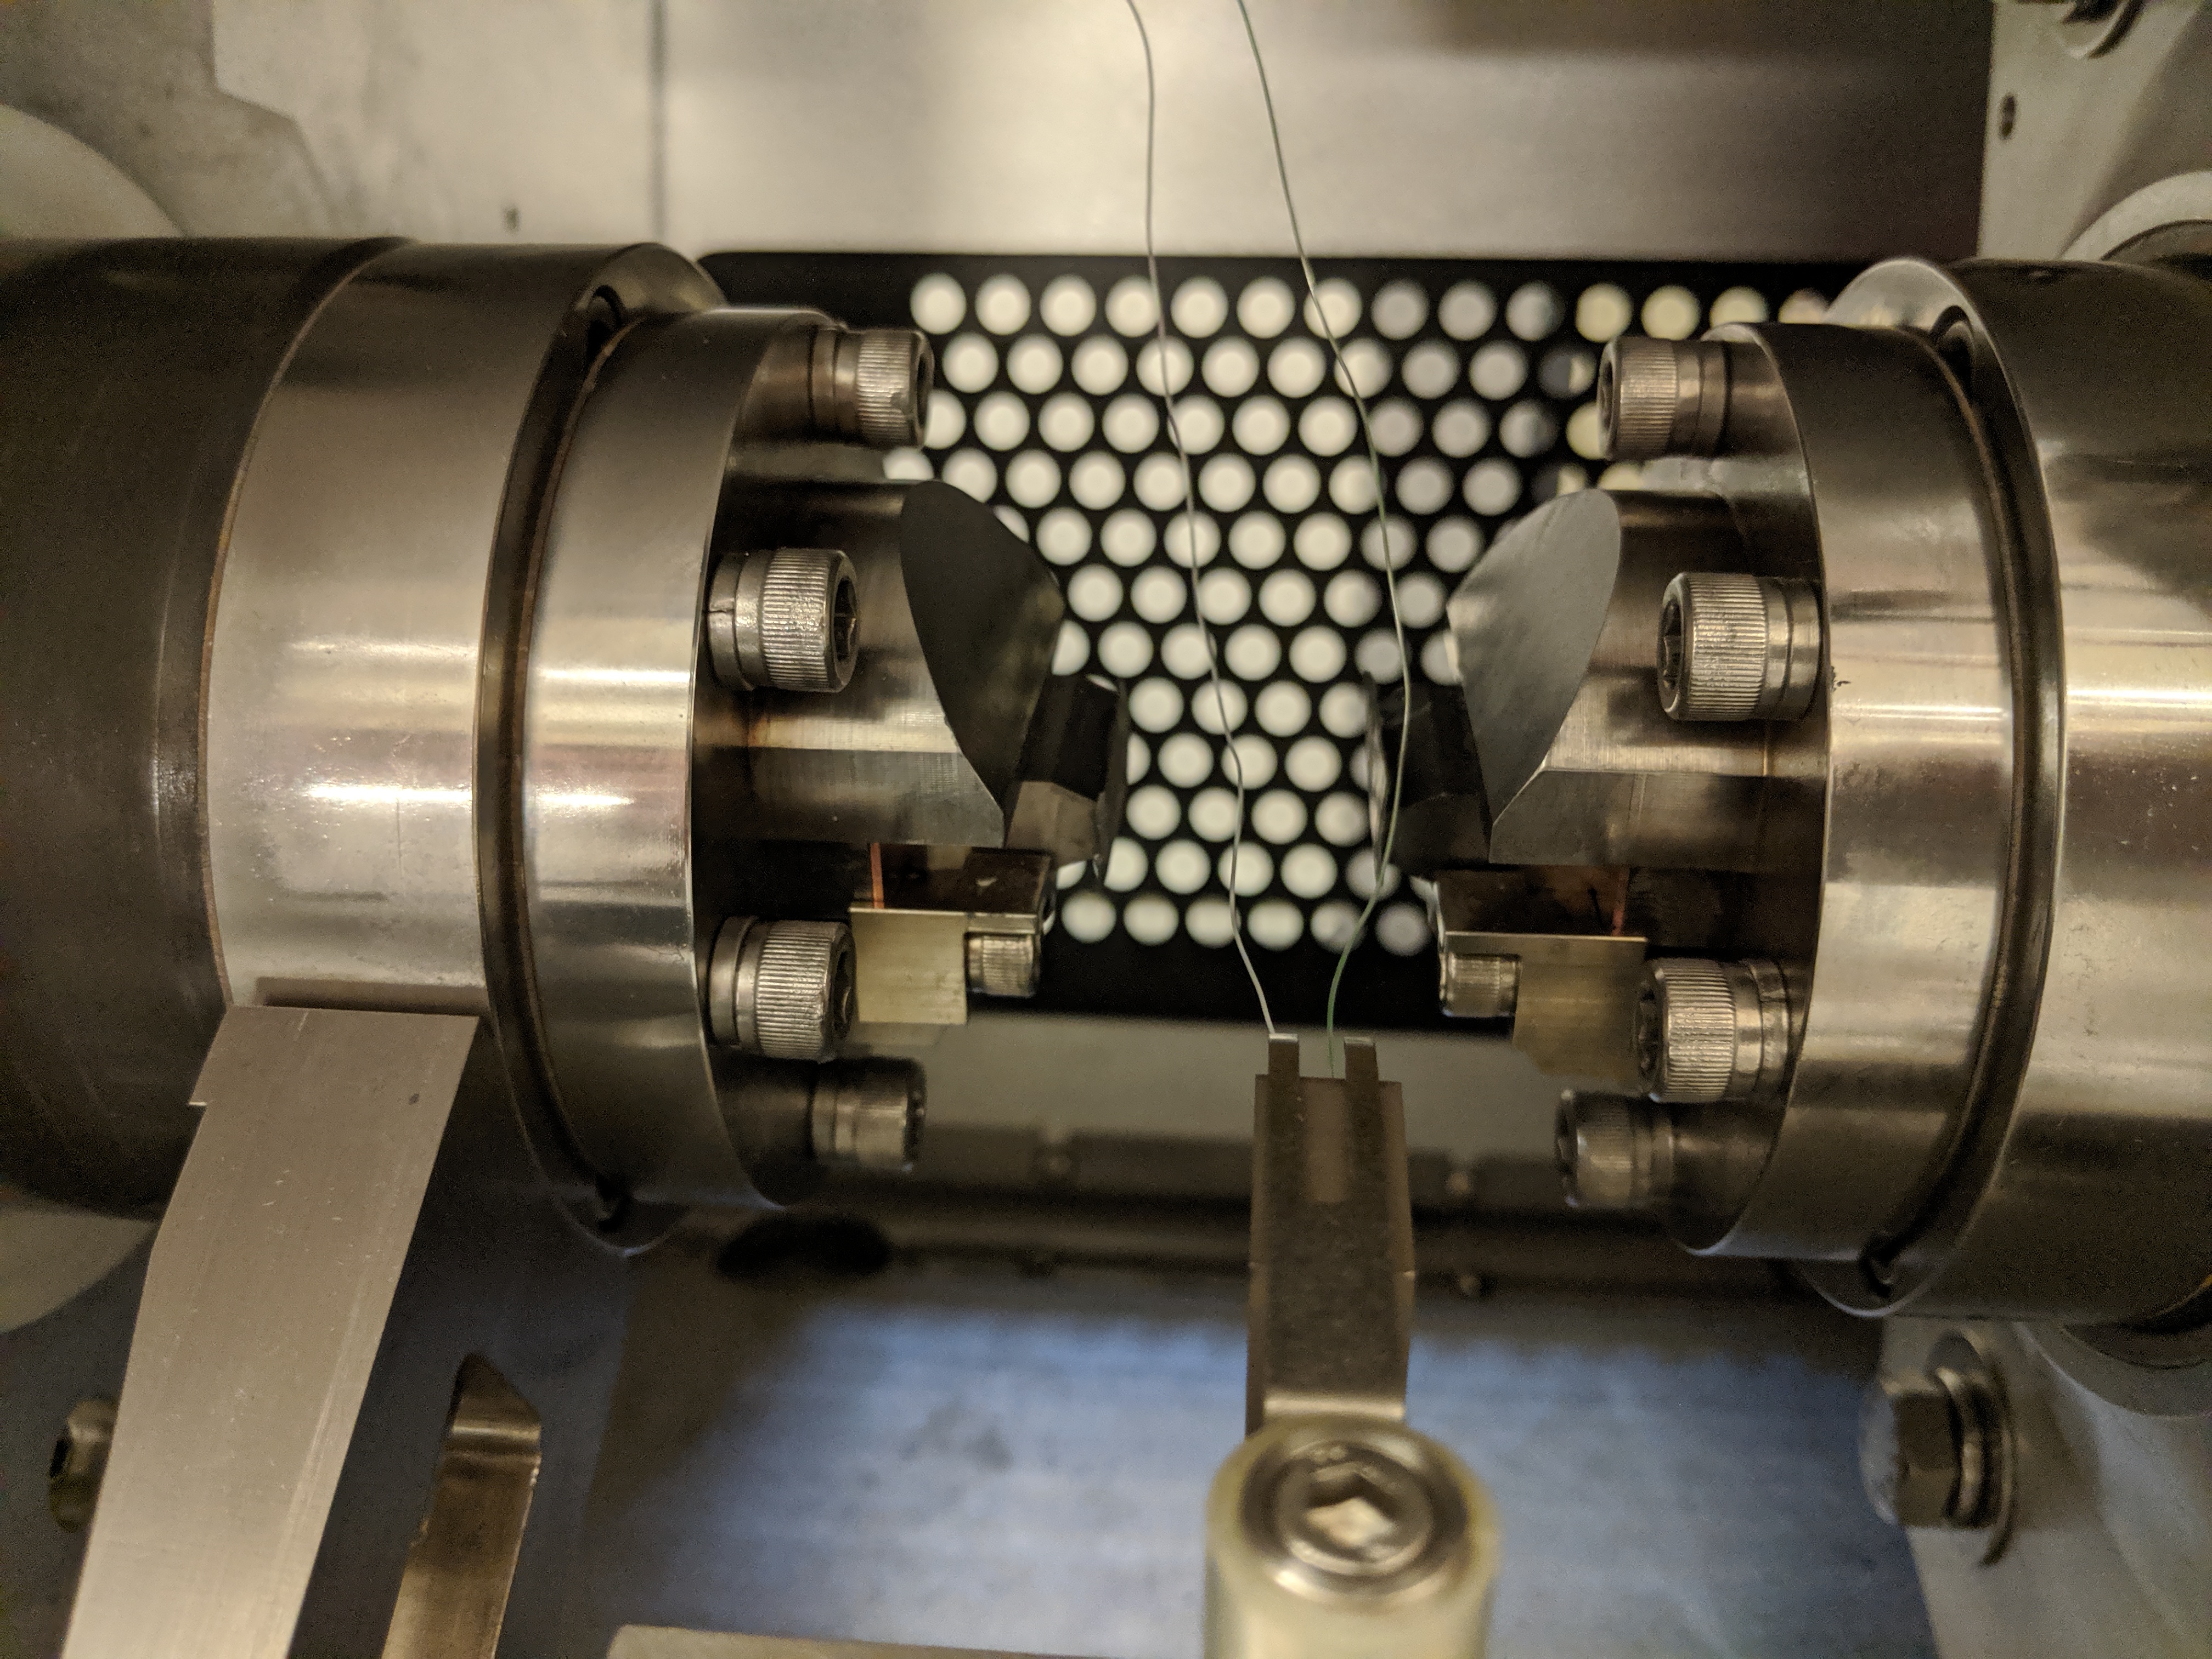
3) Inserting sample into the Gleeble Hydrawedge with graphite paper or tantalum stuck to the anvils via nickel paste. And make sure green wire goes into red thermocouple reader and white wire into white thermocouple reader.

4) Push autoloader forward so it clicks into place.
5) Turn on the hydraulic and turn mechanical on. Move stroke piston into full compression (0.00 mm) resulting in the anvil touching the specimen in the autoloader.
6) Turn AirRam on and AirRamComp on and adjust the Air Ram pressure using the yellow knob on the gleeble system. Should be between (0.5-1kN0 for small plane strain.
7) Move wedge as close to sample but not touching.
8) Turn off the mechanical and AirRam but keep on the AirRamComp.
9) Close the door of the chamber and turn the VacOn, make sure to close lever on chamber.
10) If you want to use HighVac follow step 9, and wait for the Chamber read to go down to 7x10⁻¹ Torr. Once this happens turn on HighVac (this will lead to VacOn turning off). Wait for the ChamberRead to show “VacStandby”. Once this is shown turn on VacOn.
11) Open up QuikSim and enter values to create a script. Once script has been created run the script and start the test.
